Add Bootstrap 4 with Vue CLI 3/4
In this tutorial, we’ll see by example how to integrate Bootstrap 4 with Vue.js using Bootstrap-Vue and Vue CLI.
We'll particularly see how to use the Bootstrap Vue CLI plugin via the vue add @techiediaries/bootstrap command to quickly install Bootstrap in your Vue project without much hassle.
Bootstrap 4 is a popular HTML/CSS framework for building responsive websites. However, for most components that need JavaScript, jQuery is required. Let's see how to use Bootstrap 4 with Vue.js using Bootstrap-Vue that provides an implementation without depending a jQuery.
Using Bootstrap 4 with Vue.js
Since Bootstrap depends on jQuery, using it with with Vue.js is somehow tricky. So the community has created some implementations that remove the jQuery requirement:
In this tutorial, we'll see how to use Bootstrap-Vue.
How to Use Bootstrap-Vue
You can use Bootstrap-Vue in various way such as:
- Installing it from npm using the
npm i bootstrap-vuecommand, - Using vue-cli templates to scaffold preconfigured projects such as
webpack simpleandwebpack, - Using the Bootstrap Vue CLI plugin via the
vue add @techiediaries/bootstrapcommand
Step 1 - Installing Vue CLI 4
Let's get started by installing Vue CLI in our development machine.
Head over to a command line interface and run the following command:
$ npm i -g vue-cli
Next, we initialize our Vue project using the following command:
$ vue create vuebootstrapdemo
Simply, press Return to accept the defaults.
Next, navigate to your project's folder and run the development server:
$ cd vuebootstrapdemo
$ npm run serve
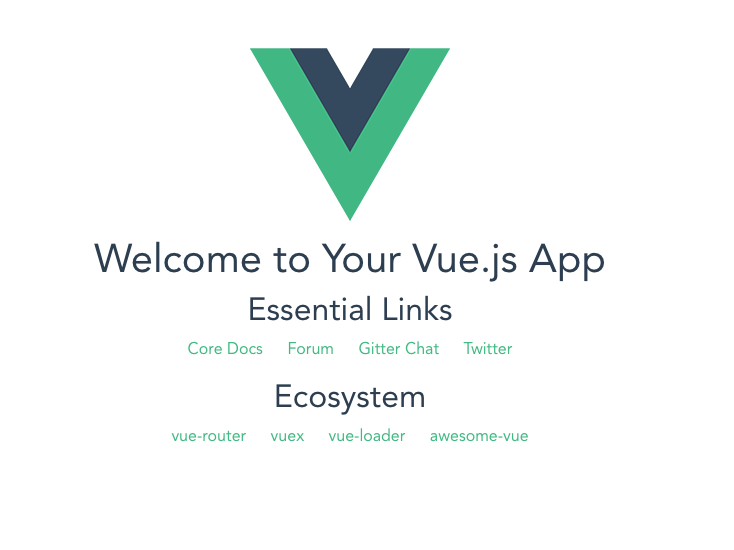
You'll be able to see the following interface if you go to http://localhost:8080/ with your web browser:
Next, open a new command-line interface and navigate to your project's folder and run the following command to add Bootstrap-Vue to your project without much hassle:
$ cd vuebootstrapdemo
$ vue add @techiediaries/bootstrap
This is our project's structure:
├── index.html
├── node_modules
│   └── ...
├── package.json
├── package-lock.json
├── README.md
├── src
│   ├── App.vue
│   ├── assets
│   │   └── logo.png
│   └── main.js
└── webpack.config.js
We'll be working mainly with the App.vue and main.js files. If you open the src/main.js file, you'll be able to see the following code, which imports the Bootstrap style sheet and Bootstrap-Vue:
import '@babel/polyfill'
import 'mutationobserver-shim'
import Vue from 'vue'
import './plugins/bootstrap-vue'
import App from './App.vue'

Vue.config.productionTip = false

new Vue({
  render: h => h(App),
}).$mount('#app')
Next, if you open the src/plugins/bootstrap-vue.js file, you'll see the following code:
import Vue from 'vue'

import BootstrapVue from 'bootstrap-vue'
import 'bootstrap/dist/css/bootstrap.min.css'
import 'bootstrap-vue/dist/bootstrap-vue.css'

Vue.use(BootstrapVue)
This is the code for importing Bootstrap 4 and Bootstrap-Vue in our project which were added automatically by the plugin.
Working With Bootstrap-Vue Components
Let's now see how to use some Bootstrap-Vue components in our project.
Open the src/App.vue file and update it with this example from the official docs:
<template>
  <div>
    <b-form @submit="onSubmit" @reset="onReset" v-if="show">
      <b-form-group
        id="input-group-1"
        label="Email address:"
        label-for="input-1"
        description="We'll never share your email with anyone else."
      >
        <b-form-input
          id="input-1"
          v-model="form.email"
          type="email"
          required
          placeholder="Enter email"
        ></b-form-input>
      </b-form-group>

      <b-form-group id="input-group-2" label="Your Name:" label-for="input-2">
        <b-form-input
          id="input-2"
          v-model="form.name"
          required
          placeholder="Enter name"
        ></b-form-input>
      </b-form-group>

      <b-form-group id="input-group-3" label="Food:" label-for="input-3">
        <b-form-select
          id="input-3"
          v-model="form.food"
          :options="foods"
          required
        ></b-form-select>
      </b-form-group>

      <b-form-group id="input-group-4">
        <b-form-checkbox-group v-model="form.checked" id="checkboxes-4">
          <b-form-checkbox value="me">Check me out</b-form-checkbox>
          <b-form-checkbox value="that">Check that out</b-form-checkbox>
        </b-form-checkbox-group>
      </b-form-group>

      <b-button type="submit" variant="primary">Submit</b-button>
      <b-button type="reset" variant="danger">Reset</b-button>
    </b-form>
    <b-card class="mt-3" header="Form Data Result">
      <pre class="m-0"></pre>
    </b-card>
  </div>
</template>

<script>
  export default {
    data() {
      return {
        form: {
          email: '',
          name: '',
          food: null,
          checked: []
        },
        foods: [{ text: 'Select One', value: null }, 'Carrots', 'Beans', 'Tomatoes', 'Corn'],
        show: true
      }
    },
    methods: {
      onSubmit(evt) {
        evt.preventDefault()
        alert(JSON.stringify(this.form))
      },
      onReset(evt) {
        evt.preventDefault()
        // Reset our form values
        this.form.email = ''
        this.form.name = ''
        this.form.food = null
        this.form.checked = []
        // Trick to reset/clear native browser form validation state
        this.show = false
        this.$nextTick(() => {
          this.show = true
        })
      }
    }
  }
</script>
Conclusion
In this tutorial, we’ve seen how to use Bootstrap-Vue using Vue CLI 4 to add Bootstrap-like components to Vue.js applications.
-
Date:

Think Python

Python for Data Analysis

Automate the Boring Stuff with Python

Small Python Projects

Learn More Python 3 the Hard Way

The Quick Python Book

Python Beyond the Basics

Clean Code in Python
Awesome Vibe Coding
A curated list of vibe coding assistants, IDEs, tools and references for learning how to efficently collaborate with AI to write code. Best practices of prompt enginnering for developers. AI-powered tools for coding and UX/UI design. Our focus is on tools that allow for generating code or designs using natural language prompts.
