Install Vue CLI 4 and Create a New Vue 3 Project
In this tutorial, we'll learn how to install Vue CLI 4 and create a Vue 3 project.
Vue CLI 4 comes with both Vue 2 and Vue 3 support.
Step 1 - Installing Vue CLI 4
Let's start by installing Vue CLI 4 in our local development machine.
Open a command line interface and run the following command:
$ npm i -g vue-cli
After installing the CLI. If you run the vue --version command, you should get the following output:
@vue/cli 4.5.2
Step 2 - Creating a New Vue 3 Project
Now if you have Vue CLI 4 installed, you can create a Vue 3 project using the following command:
$ vue create vue3demo
You'll be prompted with the following code:
? Please pick a preset:
  Default ([Vue 2] babel, eslint)
❯ Default (Vue 3 Preview) ([Vue 3] babel, eslint)
  Manually select features
Next, you need to select the second option Default (Vue 3 Preview) ([Vue 3] babel, eslint) to instruct the CLI to generate a new Vue 3 based project.
Next, press Return.
Your project's files will be generated and the dependencies will be automatically installed from npm.
Step 3 - Serving your Vue 3 Project
Next, navigate to your project's folder and run the development server as follows:
$ cd vue3demo
$ npm run serve
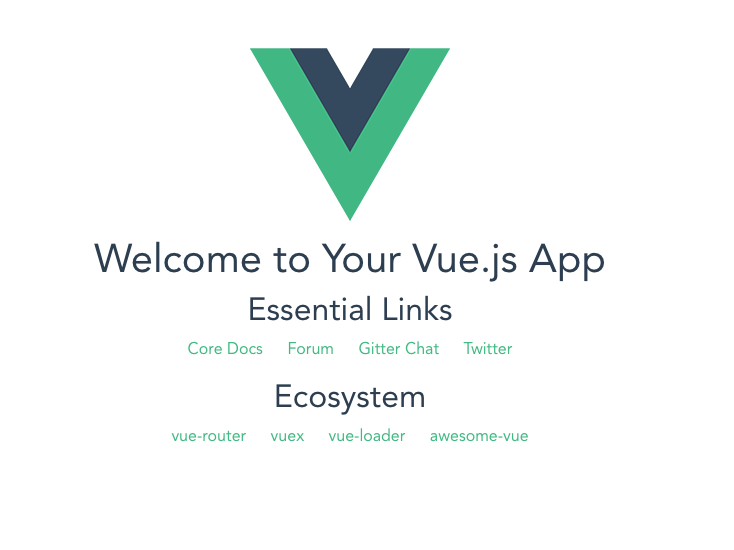
You'll be able to see the following interface if you go to http://localhost:8080/ with your web browser:
This is the directory structure of our project:
.
├── babel.config.js
├── node_modules
├── package.json
├── package-lock.json
├── public
├── README.md
└── src
The src/ folder contains the following files:
├── App.vue
├── assets
│   └── logo.png
├── components
│   └── HelloWorld.vue
└── main.js
Conclusion
In this quick post we've seen how to generate a new Vue 3 project using Vue CLI v4.
-
Date:

Think Python

Python for Data Analysis

Automate the Boring Stuff with Python

Small Python Projects

Learn More Python 3 the Hard Way

The Quick Python Book

Python Beyond the Basics

Clean Code in Python
Awesome Vibe Coding
A curated list of vibe coding assistants, IDEs, tools and references for learning how to efficently collaborate with AI to write code. Best practices of prompt enginnering for developers. AI-powered tools for coding and UX/UI design. Our focus is on tools that allow for generating code or designs using natural language prompts.
