In this tutorial, we'll build a RESTful CRUD application with PHP & MySQL in the backend and Vue.js in the frontend. We'll also be using Axios for sending Ajax request to PHP from Vue.
The Vue.js library, Axios client and Ajax technology allows you to fetch and display data in your application without the need to refresh the whole page each time.
For database we'll be using MySQL, the most popular database used by PHP developers.
Creating the MySQL Database
In your terminal, start the MySQL client using:
mysql -u root -p
Enter your password when prompted and hit Enter.
Next, create a database using the following SQL statement:
mysql> create database vuedb;
Next, create the following SQL table in your vuedb database:
mysql> use vuedb;
mysql> CREATE TABLE `contacts` (
  `id` int(11) NOT NULL PRIMARY KEY AUTO_INCREMENT,
  `name` varchar(100) NOT NULL,
  `email` varchar(100) NOT NULL,
  `city` varchar(100),
  `country` varchar(100),
  `job` varchar(100)
) ENGINE=InnoDB DEFAULT CHARSET=latin1;

Create The PHP & MySQL CRUD App
Now, let's create a PHP and MySQL CRUD application. Open a new terminal, navigate to your working directory then create a folder for your project:
$ cd ~/demos
$ mkdir php-vuejs-crud
Next, navigate in your project's folder and add an index.php file:
$ cd php-vuejs-crud
$ touch index.php
Open the index.php file and add the following code:
<!DOCTYPE html>
<html lang="en">
<head>
    <meta charset="UTF-8">
    <meta name="viewport" content="width=device-width, initial-scale=1.0">
    <meta http-equiv="X-UA-Compatible" content="ie=edge">
    <title>PHP| MySQL | Vue.js | Axios Example</title>
    <script src="https://cdn.jsdelivr.net/npm/vue"></script>
    <script src="https://unpkg.com/axios/dist/axios.min.js"></script>

</head>
<body>
</body>
</html>
We first include Vue.js and Axios from their CDNs.
Next, in the body of the document, add a <table> to display fetched data:
<h1>Contact Management</h1>
<div id='vueapp'>

<table border='1' width='100%' style='border-collapse: collapse;'>
   <tr>
     <th>Name</th>
     <th>Email</th>
     <th>Country</th>
     <th>City</th>
     <th>Job</th>

   </tr>

   <tr v-for='contact in contacts'>
     <td>{{ contact.name }}</td>
     <td>{{ contact.email }}</td>
     <td>{{ contact.country }}</td>
     <td>{{ contact.city }}</td>
     <td>{{ contact.job }}</td>
   </tr>
 </table>
We use the v-for directive to iterate over the contacts array and display each contact.
Next, add a <form> tag:
</br>

    <form>
      <label>Name</label>
      <input type="text" name="name" v-model="name">
</br>
      <label>Email</label>
      <input type="email" name="email" v-model="email">
      </br>
      <label>Country</label>
      <input type="text" name="country" v-model="country">
      </br>
      <label>City</label>
      <input type="text" name="city" v-model="city">
      </br>
      <label>Job</label>
      <input type="text" name="job" v-model="job">
      </br>
      <input type="button" @click="createContact()" value="Add">
    </form>

</div>
We use the v-model directive to bind the input fields to their corresponding variables in the Vue instance we'll be creating next. And we use the @click event to bind the click event of the button to the createContact() method that will be defined in the Vue instance.
Next, add a <script> tag and create a Vue app:
<script>
var app = new Vue({
  el: '#vueapp',
  data: {
      name: '',
      email: '',
      country: '',
      city: '',
      job: '',
      contacts: []
  },
  mounted: function () {
    console.log('Hello from Vue!')
    this.getContacts()
  },

  methods: {
    getContacts: function(){
    },
    createContact: function(){
    },
    resetForm: function(){
    }
  }
})
</script>
</body>
</html>
We declared three methods, let's implement them!
The getContacts() method gets contacts from the PHP endpoint using Axios:
    getContacts: function(){
        axios.get('api/contacts.php')
        .then(function (response) {
            console.log(response.data);
            app.contacts = response.data;

        })
        .catch(function (error) {
            console.log(error);
        });
    }
The createContact() methods creates a new contact in the MySQL database by sending a POST request with Axios and FormData:
    createContact: function(){
        console.log("Create contact!")

        let formData = new FormData();
        console.log("name:", this.name)
        formData.append('name', this.name)
        formData.append('email', this.email)
        formData.append('city', this.city)
        formData.append('country', this.country)
        formData.append('job', this.job)

        var contact = {};
        formData.forEach(function(value, key){
            contact[key] = value;
        });

        axios({
            method: 'post',
            url: 'api/contacts.php',
            data: formData,
            config: { headers: {'Content-Type': 'multipart/form-data' }}
        })
        .then(function (response) {
            //handle success
            console.log(response)
            app.contacts.push(contact)
            app.resetForm();
        })
        .catch(function (response) {
            //handle error
            console.log(response)
        });
    }
The resetForm() method resets the form:
    resetForm: function(){
        this.name = '';
        this.email = '';
        this.country = '';
        this.city = '';
        this.job = '';
    }
Create an API Endpoint
Now, let's create an endpoint that provides contacts data in a JSON format to our Vue frontend.
Create an api folder inside your project's root folder:
$ mkdir api
Navigate inside the api folder and create a contacts.php file and add the following content:
<?php
$host = "localhost";
$user = "root";
$password = "YOUR_MYSQL_DB_PASSWORD";
$dbname = "vuedb";
$id = '';

$con = mysqli_connect($host, $user, $password,$dbname);

$method = $_SERVER['REQUEST_METHOD'];
$request = explode('/', trim($_SERVER['PATH_INFO'],'/'));
//$input = json_decode(file_get_contents('php://input'),true);


if (!$con) {
  die("Connection failed: " . mysqli_connect_error());
}


switch ($method) {
    case 'GET':
      $id = $_GET['id'];
      $sql = "select * from contacts".($id?" where id=$id":'');
      break;
    case 'POST':
      $name = $_POST["name"];
      $email = $_POST["email"];
      $country = $_POST["country"];
      $city = $_POST["city"];
      $job = $_POST["job"];

      $sql = "insert into contacts (name, email, city, country, job) values ('$name', '$email', '$city', '$country', '$job')";
      break;
}

// run SQL statement
$result = mysqli_query($con,$sql);

// die if SQL statement failed
if (!$result) {
  http_response_code(404);
  die(mysqli_error($con));
}

if ($method == 'GET') {
    if (!$id) echo '[';
    for ($i=0 ; $i<mysqli_num_rows($result) ; $i++) {
      echo ($i>0?',':'').json_encode(mysqli_fetch_object($result));
    }
    if (!$id) echo ']';
  } elseif ($method == 'POST') {
    echo json_encode($result);
  } else {
    echo mysqli_affected_rows($con);
  }

$con->close();
Finally, you can serve your PHP application using the following command from the root of your project:
$ php -S 127.0.0.1:8080
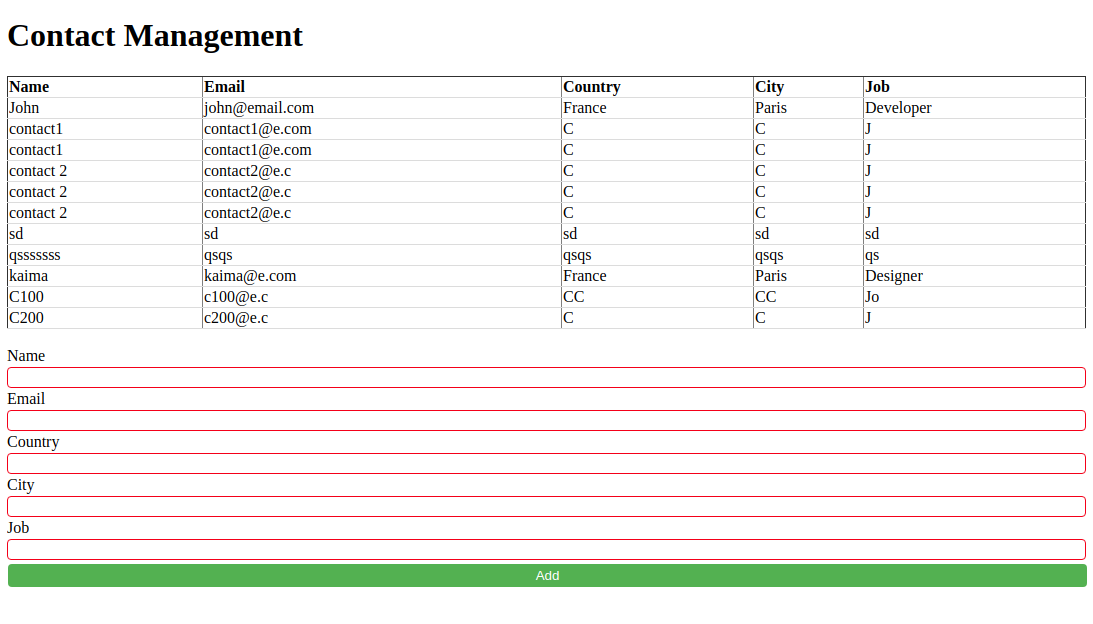
This is a screenshot of the application, after posting some data using the form:
For the same styling, add the following CSS:
Conclusion
In this tutorial, we've used PHP, MySQL, Vue.js and Axios to create a simple REST API CRUD example application.