Set up Angular CLI 13
Step 1 — Setting up Angular CLI 13
In this step, we'll install the latest Angular CLI 13 version (at the time of writing this tutorial).
Note: These instructions are also valid for Angular 8/9.
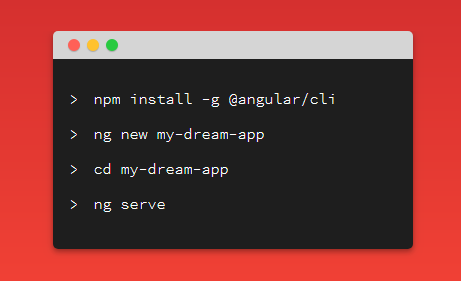
Angular CLI is the official tool for initializing and working with Angular projects. To install it, open a new command-line interface and run the following command:
$ npm install -g @angular/cli
At the time of writing this tutorial, angular/cli v13 will be installed on your system.
If you run the ng version command, you should get a similar output:
Angular CLI: 13.0.0
Node: 14.17.0
Package Manager: npm 6.14.13
OS: linux x64

Angular:
...

Package                      Version
------------------------------------------------------
@angular-devkit/architect    0.1300.0 (cli-only)
@angular-devkit/core         13.0.0 (cli-only)
@angular-devkit/schematics   13.0.0 (cli-only)
@schematics/angular          13.0.0 (cli-only)
In the next step, we'll learn how to intialize a new example project from the command-line.