Ionic 5 Tutorial with Local Storage CRUD and Theming Example

Ionic 5 allows you to create cross-platform mobile applications for Android & iOS and Progressive Web Apps with one codebase. You can target the most popular native platforms using the front-end web tools and languages i.e HTML, CSS, TypeScript and JavaScript.
Learn to Develop your First Ionic 5 App
In this tutorial, you'll learn to develop your first Ionic 5 application. You'll be using the latest Ionic CLI 5 version for generating and working with your project.
The PWA version can be deployed to the web either using GitHub pages, GitLab, or Netlify, etc.
We'll use the Ionic Storage API for implementing the CRUD operations against the local storage. And we'll see how to use and theme Ionic components like ion-content, ion-list, and ion-button, etc.
Prerequisites
To follow with this tutorial, you need to have a few prerequisites:
- You need a development machine with Node.js and npm installed. You can download the latest versions from the official website,
- You need to have Git installed on your system because It will be used to deploy your source code to GitHub,
- A code editor or IDE for writing your code. We are using Visual Studio Code,
You also need to be familiar with:
- TypeScript (strongly recommended!),
- JavaScript,
- CSS and Sass,
- HTML.
Note: Please note that Node.js is only required to run the Ionic CLI but you don't need to be a Node.js developer to build Ionic 5 apps. For TypeScript, if you are already familiar with classical OOP languages such as Java or C++, you'll be able to quickly grasp the basics because many constructs are similar. Sass is a superset of CSS that provides programming language constructs like variables. You don't need to be a Sass guru to build Ionic 4 apps but some familiarity with Sass variables and how to use and set them is useful for theming your app.
That's all you need—let's get started!
Installing Ionic CLI 5 and Cordova
You'll begin your journey with Ionic 5 by installing the Ionic CLI from npm using the following command:
$ npm install -g ionic
Note: You might need to use
sudobefore your command in Linux (Debian-based systems) and macOS or a CMD with administrator access in Windows to be able to install npm packages globally. Alternatively, you can simply fix your npm permissions to allow to install packages globally without super user access.
Creating your Ionic 5 Project
After installing Ionic CLI 5, you can create a project using one simple command. In your terminal, run:
$ ionic start ionic-first-app blank --type=angular
We are creating a project based on Angular (--type=angular), named myapp using the blank template.
You'll be prompted if you want to Integrate your new app with Capacitor to target native iOS and Android? (y/N)? Type y.
Starting with Ionic 4, you can generate projects based on Angular, React or Vue so you need to specify the type of your project.
Note: Angular is the default, so even if you don't add
--type=angular, an Angular-based project will be generated.
You can generate a project, based on various templates such as:
- blank,
- tabs,
- sidemenu, etc.
You can also just type:
$ ionic start
And interactively specify all those options when demanded by the CLI.
After generating the project's files and installing the required dependencies, the Ionic CLI will prompt you if you want to “Install the free Ionic Appflow SDK and connect your app?”
Type y and press Enter.
So what's the Ionic Appflow SDK?
Ionic Appflow is a set of services built on top of Ionic which you can use to update your app instantly without going through the app store review process, package your apps in the cloud and monitor error etc.
We'll see later how we can use it to package your application in the cloud without actually needing to install Java, Android SDK for targeting Android apps or macOS and Xcode for iOS apps.
Note: Ionic allows you to do most development on the browser and even lets mock plugins that need actual device features (like the Camera) but once you develop your application you will need to create native packages for your target platform. In the case of Android, you need to install Java and Android SDK. For iOS, you need a macOS with Xcode installed but thanks to Ionic Appflow services, you can skip these requirements by packaging your application in the cloud.
Serving your Ionic 5 Application
Thanks to Ionic and Ionic CLI, you can develop your application just like you develop front-end web apps (Like Angular apps for example) using a local development server and the browser. In your terminal run the following commands to serve your Ionic 5 application:
$ cd ionic-first-app
$ ionic serve
This will start a development server that will be running at the localhost:8000 address and will automatically open your default browser and navigate to that address.
This is the screenshot or our blank app:
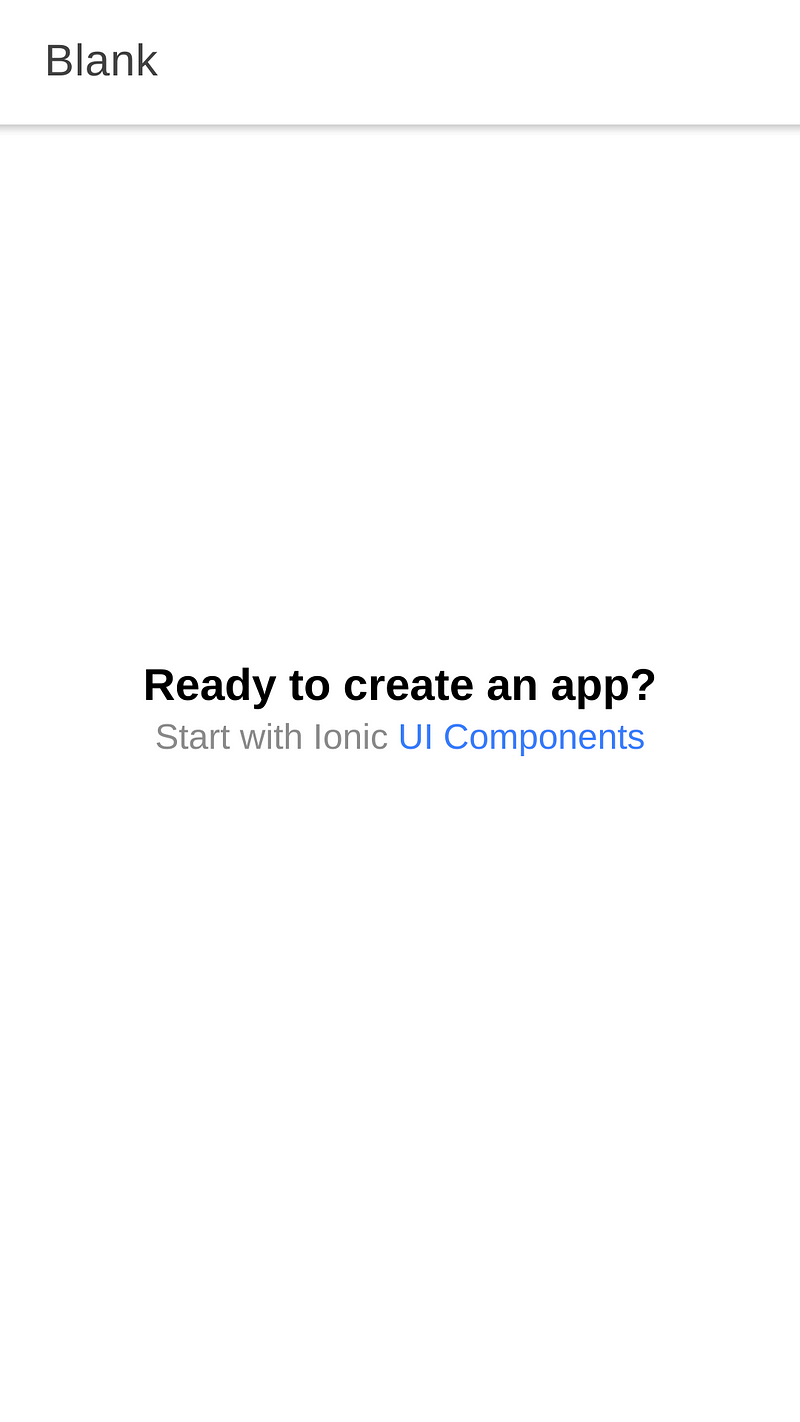
With Ionic 5, we've got new designs for the starter templates.
Note: Most development will be done on the browser and thanks to hot code reloading you can change your source code and all the changes will be pushed to the browser without the need to reload your app or re-start your server each time you change your code.
The Application we'll Be Building
In this course, we'll be building a simple task management application that you can use to manage your tasks. You'll learn to implement CRUD operations in your Ionic 5 application using the local storage and the browser's IndexedDB database.
Generating a New Page
The blank starter comes already with a home page, let's add one more page named about.
Head back to a new terminal, navigate to your project's folder and run:
$ ionic generate page about
This is the output of the command:
> ng generate page about
CREATE src/app/about/about-routing.module.ts (343 bytes)
CREATE src/app/about/about.module.ts (465 bytes)
CREATE src/app/about/about.page.scss (0 bytes)
CREATE src/app/about/about.page.html (124 bytes)
CREATE src/app/about/about.page.spec.ts (640 bytes)
CREATE src/app/about/about.page.ts (252 bytes)
UPDATE src/app/app-routing.module.ts (582 bytes)
[OK] Generated page!
The Ionic CLI has also added a new route in the src/app/app-routing.module.ts which contains routing information for your application:
import { NgModule } from '@angular/core';
import { PreloadAllModules, RouterModule, Routes } from '@angular/router';

const routes: Routes = [
  { path: '', redirectTo: 'home', pathMatch: 'full' },
  { path: 'home', loadChildren: () => import('./home/home.module').then( m => m.HomePageModule)},
  {
    path: 'about',
    loadChildren: () => import('./about/about.module').then( m => m.AboutPageModule)
  },
];

@NgModule({
  imports: [
    RouterModule.forRoot(routes, { preloadingStrategy: PreloadAllModules })
  ],
  exports: [RouterModule]
})
export class AppRoutingModule { }
Head back to your web browser, you should be able to access the about page via the /about path.
Implementing and Theming the About Page
We have a new about page with no content, let's change that!
Open the src/app/about/about.page.html and update it as follows:
<ion-header translucent>
  <ion-toolbar color="primary">
    <ion-title>
      About
    </ion-title>
  </ion-toolbar>
</ion-header>

<ion-content color="primary" fullscreen>
  <ion-header collapse="condense">
    <ion-toolbar>
      <ion-title size="large">About</ion-title>
    </ion-toolbar>
  </ion-header>

  <div>
    <strong>Todo v1.0</strong>
  </div>
</ion-content>
Next, open the src/app/about/about.page.scss and add the following styles:
ion-content {
    --padding-bottom: 20px;
    --padding-end: 20px;
    --padding-start: 20px;
    --padding-top: 20px;
}
This is a screeshot of our about page:

Theming the Home Page
open the src/app/home/home.page.html and update is as follows:
<ion-header translucent>
  <ion-toolbar color="primary">
    <ion-title>
      Todo
    </ion-title>
  </ion-toolbar>
</ion-header>

<ion-content color="primary" fullscreen>
  <ion-header collapse="condense">
    <ion-toolbar>
      <ion-title size="large">Todo</ion-title>
    </ion-toolbar>
  </ion-header>

</ion-content>
Next, open src/app/home/home.page.scss file, remove the existing styles and add the following:
ion-content {
  --padding-bottom: 20px;
  --padding-end: 20px;
  --padding-start: 20px;
  --padding-top: 20px;
}
This is a screenshot of our home page:

Importing Ionic Storage Module
We'll be using the Ionic Storage module for working with the local storge in our app.
Head back to your terminal and run the following command to install the @ionic/storage package:
$ npm install --save @ionic/storage
Open the src/app/app.module.ts file and update is as follows:
import { NgModule } from '@angular/core';
import { BrowserModule } from '@angular/platform-browser';
import { RouteReuseStrategy } from '@angular/router';

import { IonicModule, IonicRouteStrategy } from '@ionic/angular';
import { SplashScreen } from '@ionic-native/splash-screen/ngx';
import { StatusBar } from '@ionic-native/status-bar/ngx';

import { AppComponent } from './app.component';
import { AppRoutingModule } from './app-routing.module';

import { IonicStorageModule } from '@ionic/storage';


@NgModule({
  declarations: [AppComponent],
  entryComponents: [],
  imports: [BrowserModule, IonicModule.forRoot(), IonicStorageModule.forRoot(), AppRoutingModule],
  providers: [
    StatusBar,
    SplashScreen,
    { provide: RouteReuseStrategy, useClass: IonicRouteStrategy }
  ],
  bootstrap: [AppComponent]
})
export class AppModule {}
Creating a CRUD Service for Data Storage
Let's now create a service that encapsulates the code for storing and retrieving todos for the local storage of your Ionic 5 application.
Head back to your terminal and run the following command:
$ ionic generate service todo
This will output:
> ng generate service todo
CREATE src/app/todo.service.spec.ts (323 bytes)
CREATE src/app/todo.service.ts (133 bytes)
[OK] Generated service!
Open the src/app/todo.service.ts and update it as follows:
import { Injectable } from '@angular/core';
import { Storage } from '@ionic/storage';

@Injectable({
  providedIn: 'root'
})
export class TodoService {

  constructor(public storage: Storage) { }
}
We imported the Ionic 5 Storage service and injected via the service constructor.
Next, generate a TypeScript interface using the following command:
$ ionic generate interface todo
This is the output of the command:
> ng generate interface todo
CREATE src/app/todo.ts (26 bytes)
[OK] Generated interface!
Open the src/app/todo.ts file and update it as follows:
export interface Todo {
    title: string;
    note: string;
    completed: boolean;
}
Next, go back to the src/app/todo.service.ts file and import the Todo interface:
import { Todo } from './todo';
Finally, add the following methods:
  public async generateKey(): Promise<string>{
    let key = `todo${ parseInt(`${Math.random() * 100}`)}`;
    let ret = await this.storage.get(key);

    while(ret){
      key = `todo${ parseInt(`${Math.random() * 100}`)}`;
      ret = await this.storage.get(key);
    }
    return key;
  }
  public async read(): Promise<Todo[]>{

    let todos: Array<Todo> = [];
    await this.storage.forEach((v, key, i)=>{
      if(key.startsWith("todo")){
          todos.push(v);
      }
    });

    return todos;
  }

  public async create(key: string , todo: Todo){
    console.log("Creating todo: ", todo);
    return await this.storage.set(key, todo);
  }

  public async update(todo: Todo){
    return await this.storage.set(todo.key, todo);
  }

  public async delete(key: string){
    return await this.storage.remove(key);
  }
Creating the UI
After implementing the service for CRUD operations using the local storage database.
Open the src/app/home/home.page.ts file and start by importing the Todo interface and TodoService:
import { TodoService } from '../todo.service';
import { Todo } from '../todo';
Next, inject the service and define a todos array as follows:
@Component({
  selector: 'app-home',
  templateUrl: 'home.page.html',
  styleUrls: ['home.page.scss'],
})
export class HomePage {

  public todos: Array<Todo> = [];
  constructor(public todoService: TodoService) {}
}
Next, when the component is initialized, read the todos from the local storage and add them to the todos array:
  async ngOnInit(){

    this.todos = await this.todoService.read();

  }
Next, define these two methods for creating a todo and getting the appropriate icon depending on the todo state:
 getIcon(todo){
    if(todo.completed) return 'checkmark-circle';
    else return 'stopwatch';
  }
  public async createTodo(){
    let key = await this.todoService.generateKey();
    let todo = {
      title: `${key}`,
      note: "A new todo",
      completed: true
    };
    await this.todoService.create(key,todo);
    this.todos = await this.todoService.read();
  }
The createTodo() creates a new random todo each time is called.
Next, open the src/app/home/home.page.html file and update it as follows:
<ion-header translucent>
  <ion-toolbar color="primary">

    <ion-title>
      Todo
    </ion-title>
  </ion-toolbar>

</ion-header>

<ion-content color="primary" fullscreen>
  <ion-header collapse="condense">
    <ion-toolbar>
      <ion-title size="large">Todo</ion-title>
    </ion-toolbar>
  </ion-header>

  <ion-button (click)="createTodo()" color="secondary" expand="block">
    Add todo
    <ion-icon name="add-circle" slot="start"></ion-icon>
  </ion-button>

  <ion-list style="background: var(--ion-color-primary);">

    <ion-item color="primary" *ngFor="let todo of todos">
      <ion-icon [name]="getIcon(todo)" slot="start">

      </ion-icon>


      <div slot="end">

      </div>
    </ion-item>
  </ion-list>

</ion-content>
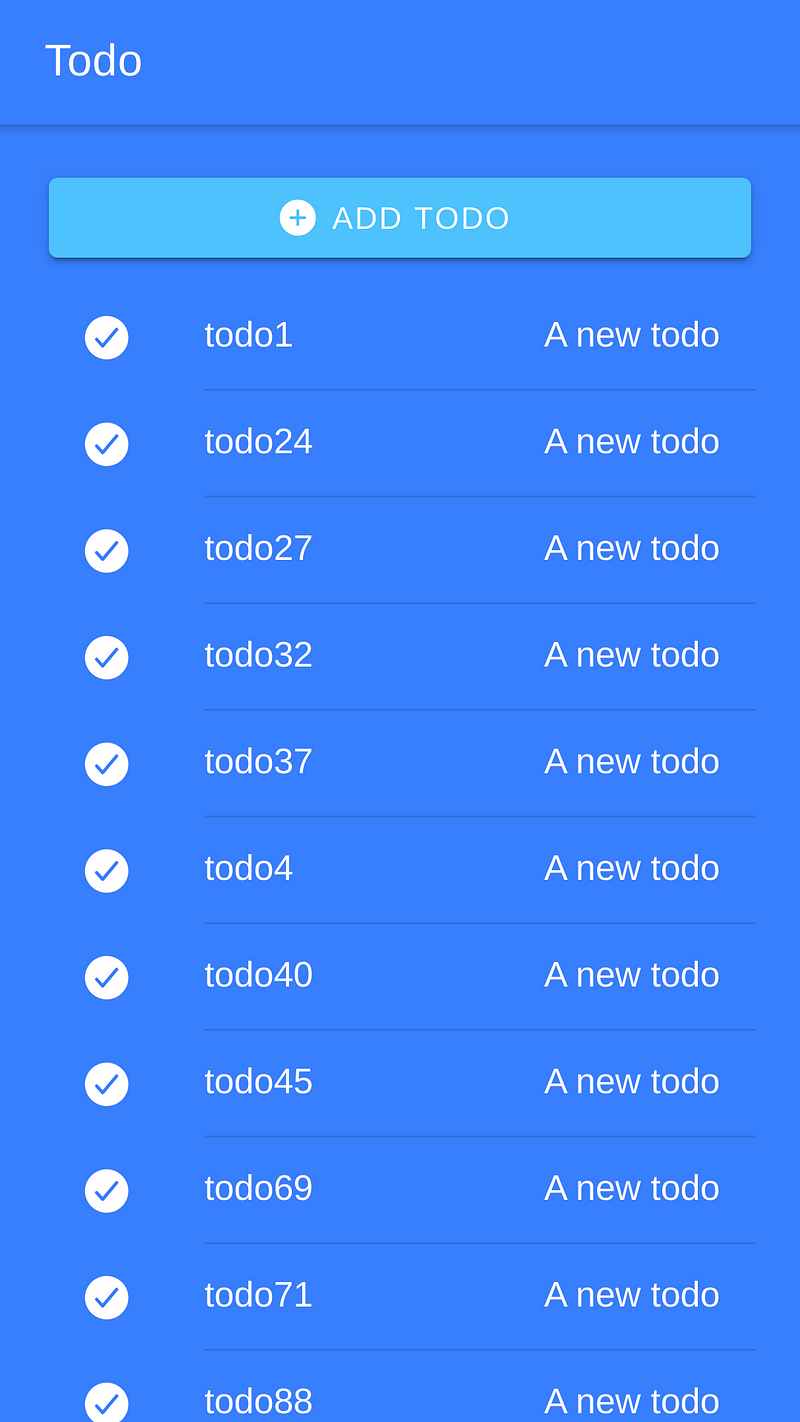
This is a screenshot of our UI:
Conclusion
In this tutorial, we created a simple todo app with Ionic 5 and Angular using Ionic Storage.
-
Date:

Think Python

Python for Data Analysis

Automate the Boring Stuff with Python

Small Python Projects

Learn More Python 3 the Hard Way

The Quick Python Book

Python Beyond the Basics

Clean Code in Python
Awesome Vibe Coding
A curated list of vibe coding assistants, IDEs, tools and references for learning how to efficently collaborate with AI to write code. Best practices of prompt enginnering for developers. AI-powered tools for coding and UX/UI design. Our focus is on tools that allow for generating code or designs using natural language prompts.
